This guide will show you how to easily virtualize the new Windows 11 on Proxmox 7 including TPM 2.0.
1. Download the ISOs:
We need two ISO files:
- Windows 11: Go to Microsoft and download the official Windows 11 Installer ISO.
- virtIO drivers: Go to virtIO GitHub and download the latest ISO version there
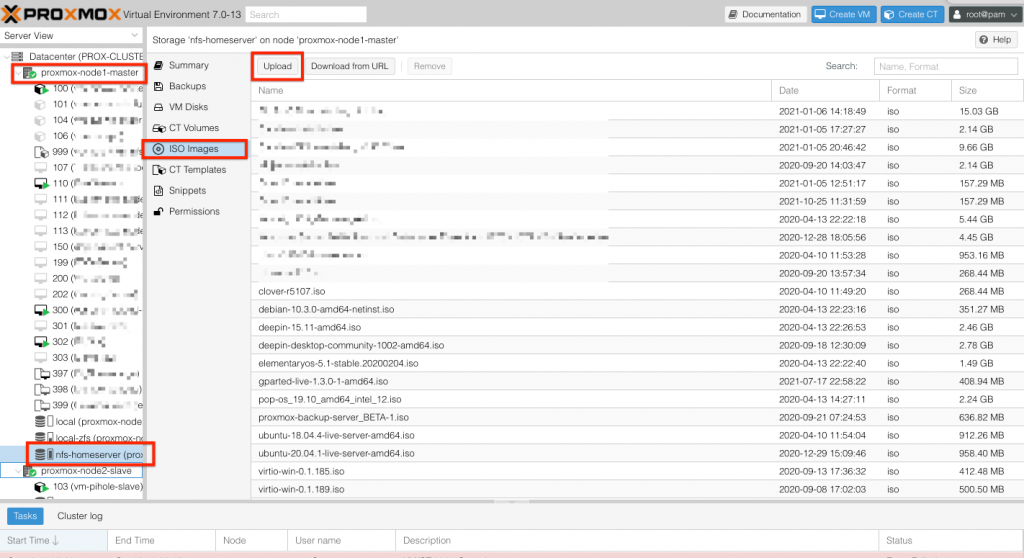
Once both ISOs are downloaded, upload them to your Proxmox node/server VM storage. In my case it goes to my nfs shared storage on Proxmox:
Great! Now we are ready to create our virtual machine!
2. Create the virtual machine:
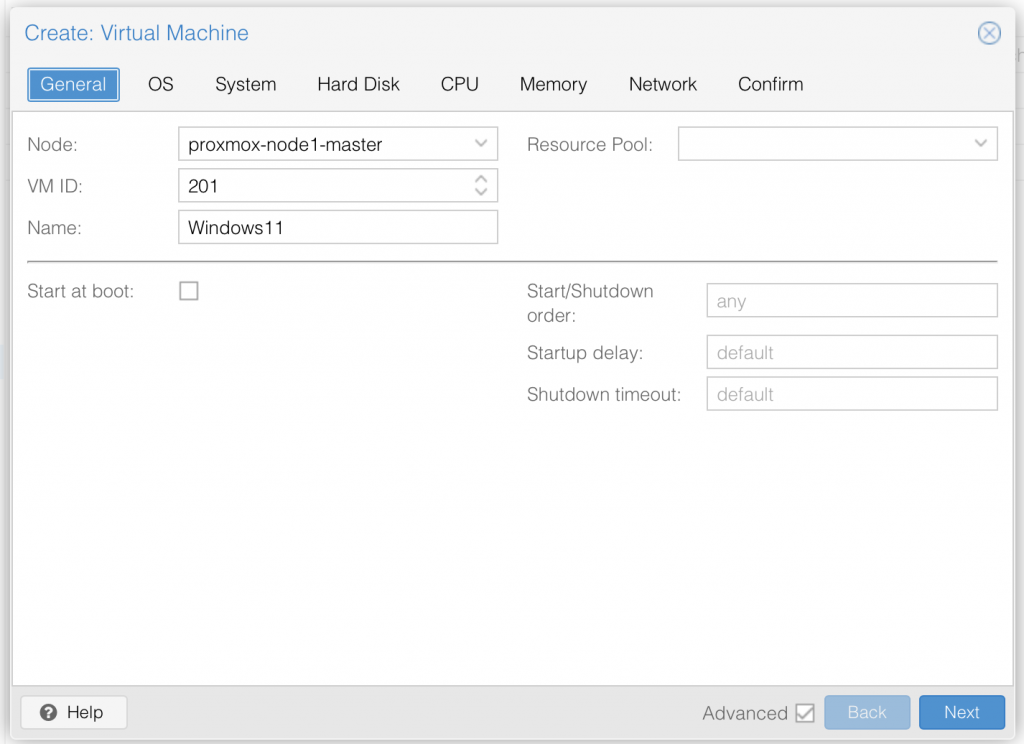
Next we create the VM in our Proxmox server. Right click on the Proxmox node you want the VM running on and select "Create VM...".
A new window opens and in the first section of it we define the name and a type of the install. Please note that the VM ID cannot easily be changed later on, so make sure to select one you are happy with right away.
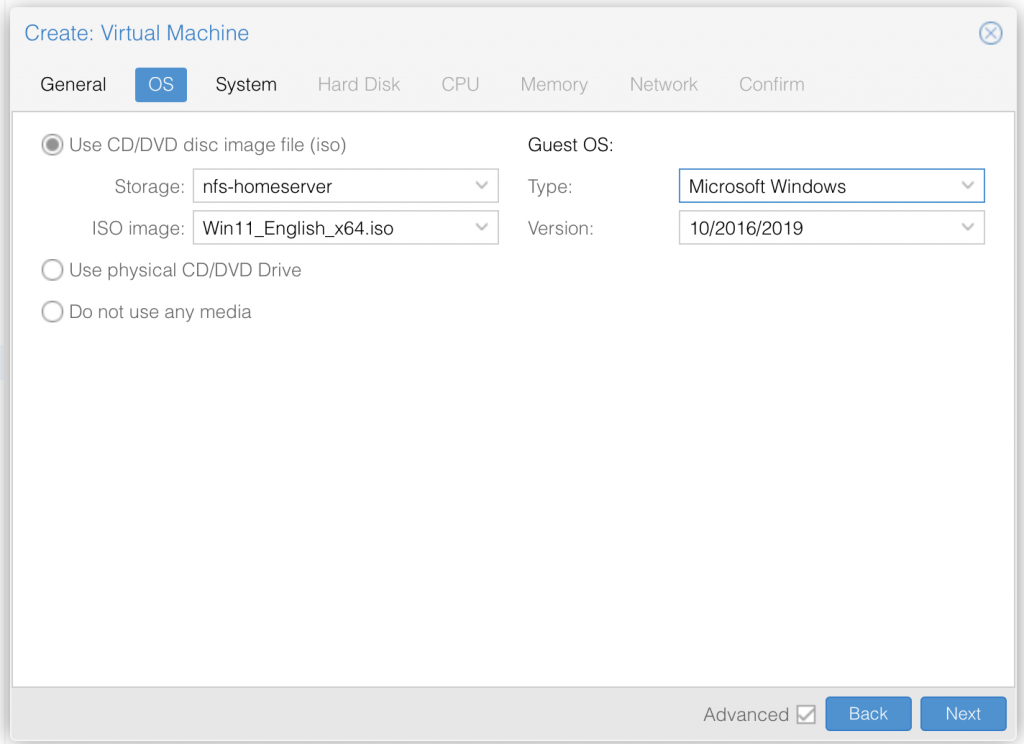
Next select the Windows 11 ISO and set it as boot and CD source:
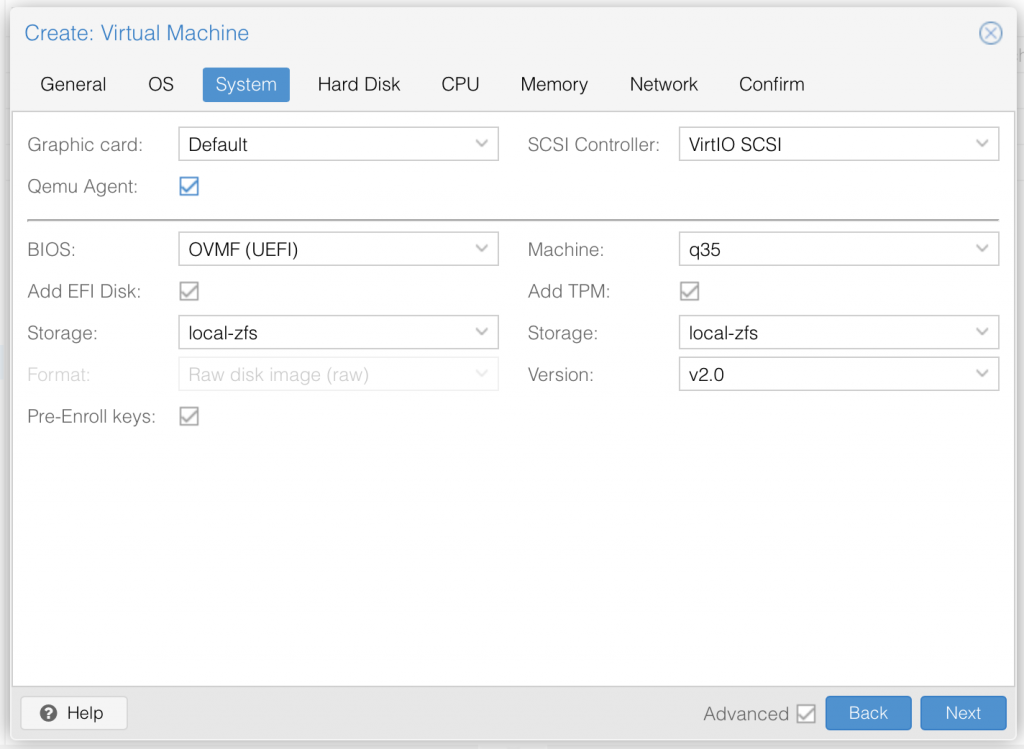
Next we define the System settings and set the TPM 2.0 option together with a EFI Disk:
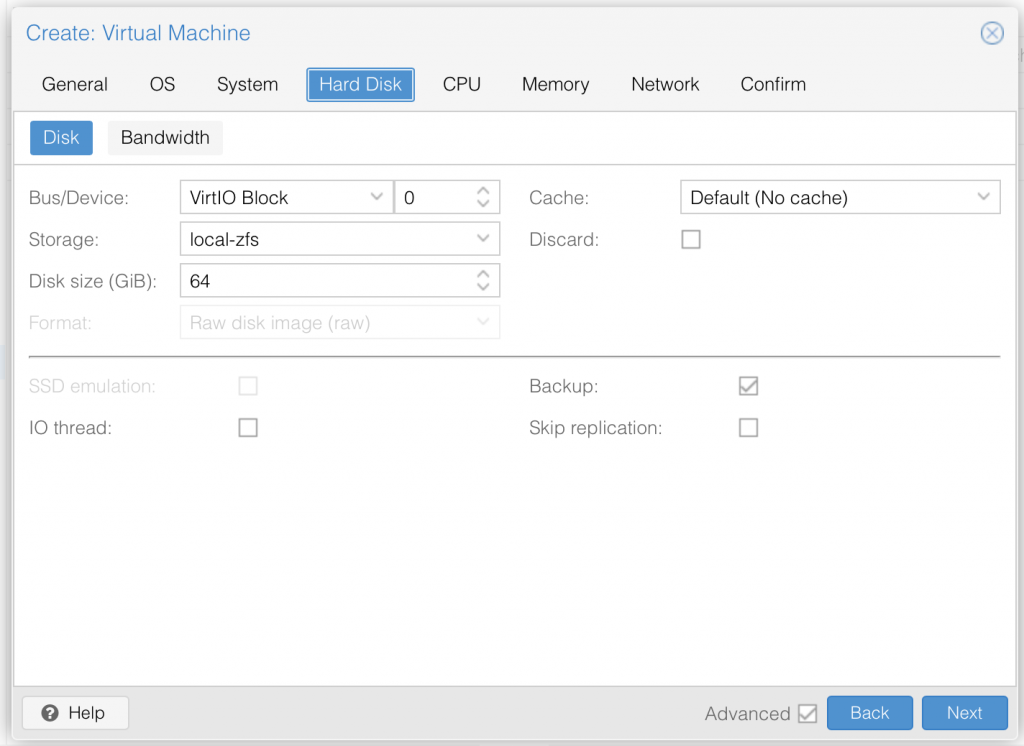
Next we create a virtual hard drive with 64GB of storage:
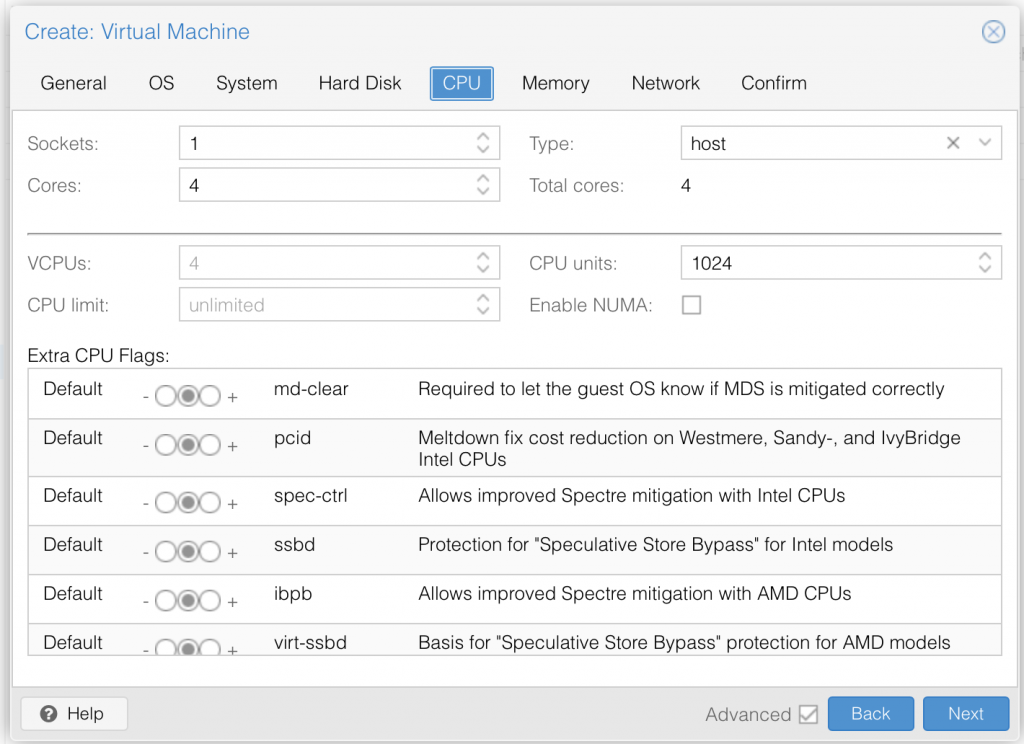
Next we define the CPU, I set mine to host and gave it 4 cores:
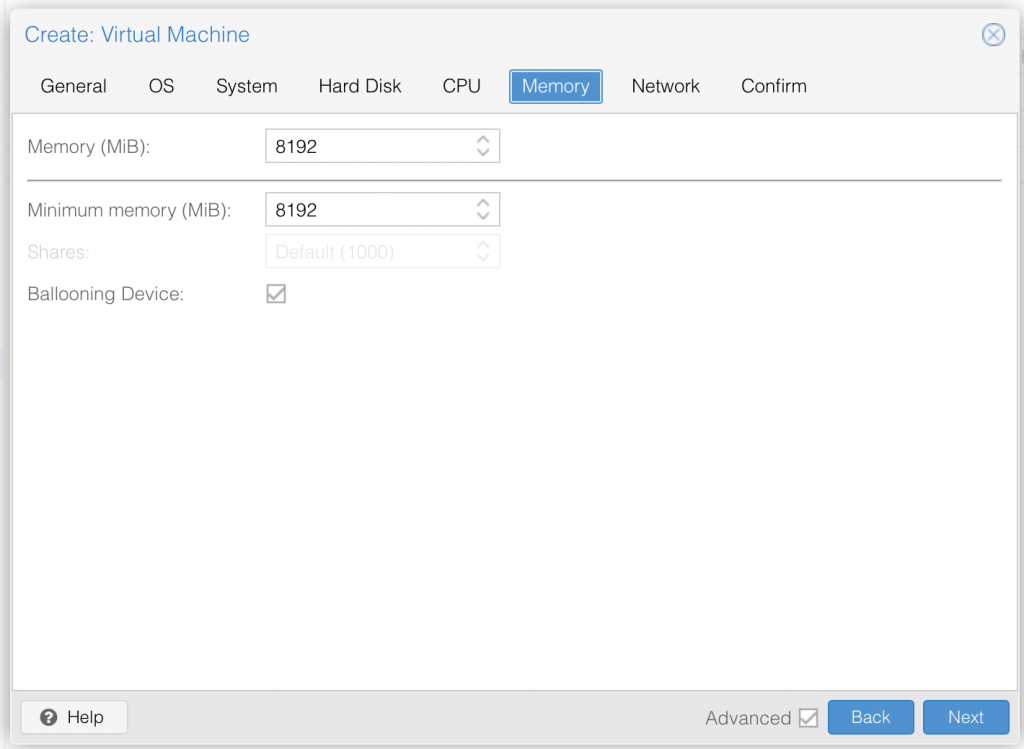
Now click next and enter the amount of memory you want to give to the VM. I recommend 8GB of RAM:
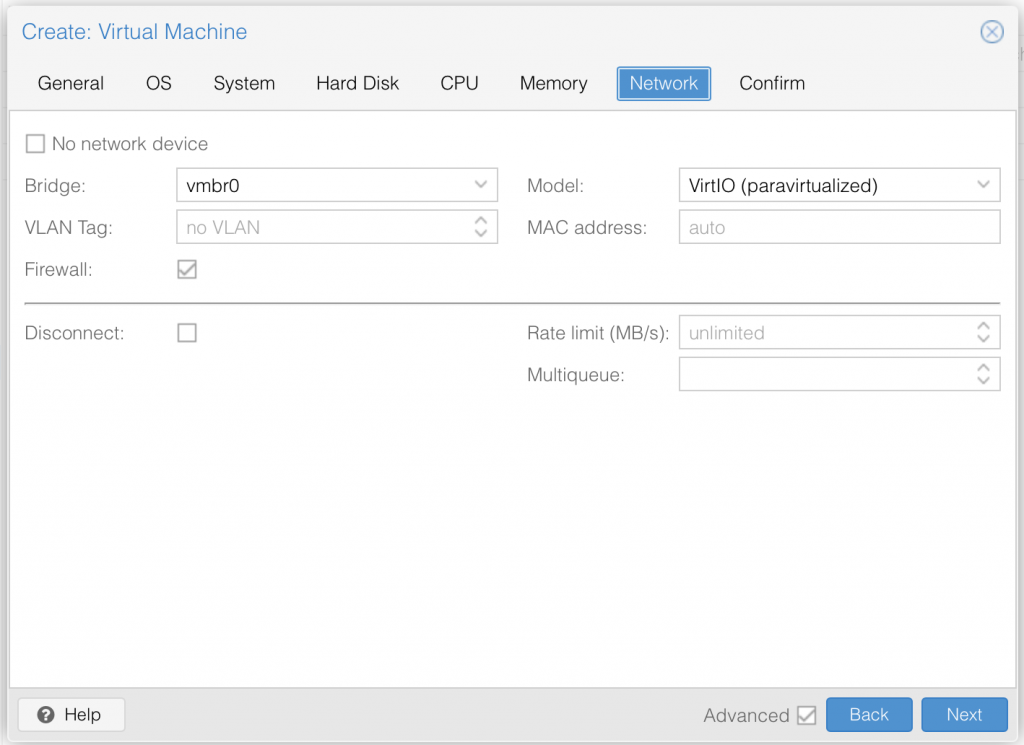
Last step, set the Network model to VirtIO:
Thats it, you are done and can create the VM now!
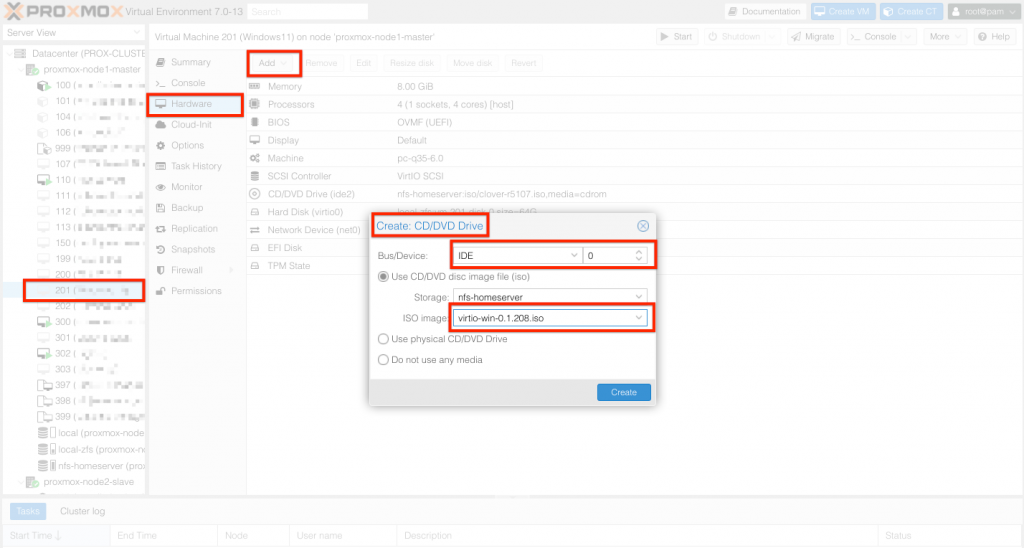
But don't start it yet, we still need to modify some settings. Go to the VM hardware options and add a new IDE device with our previously downloaded virtIO ISO image:
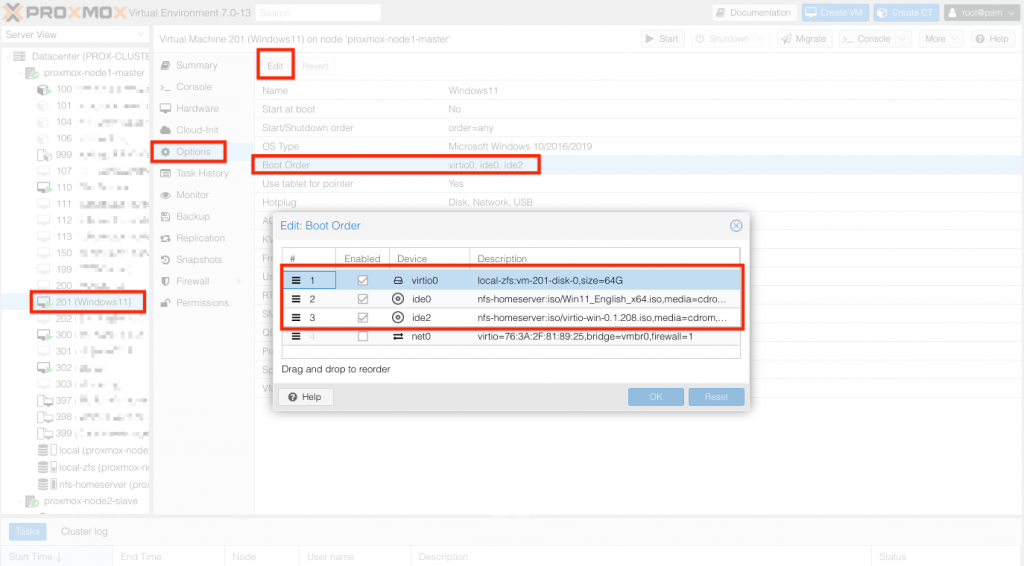
Make also sure to set the boot sequence in the right order, so Proxmox can boot right into the Windows installer. Go to your boot order options of the Windows 11 VM and set it like this:
3. Install Windows 11:
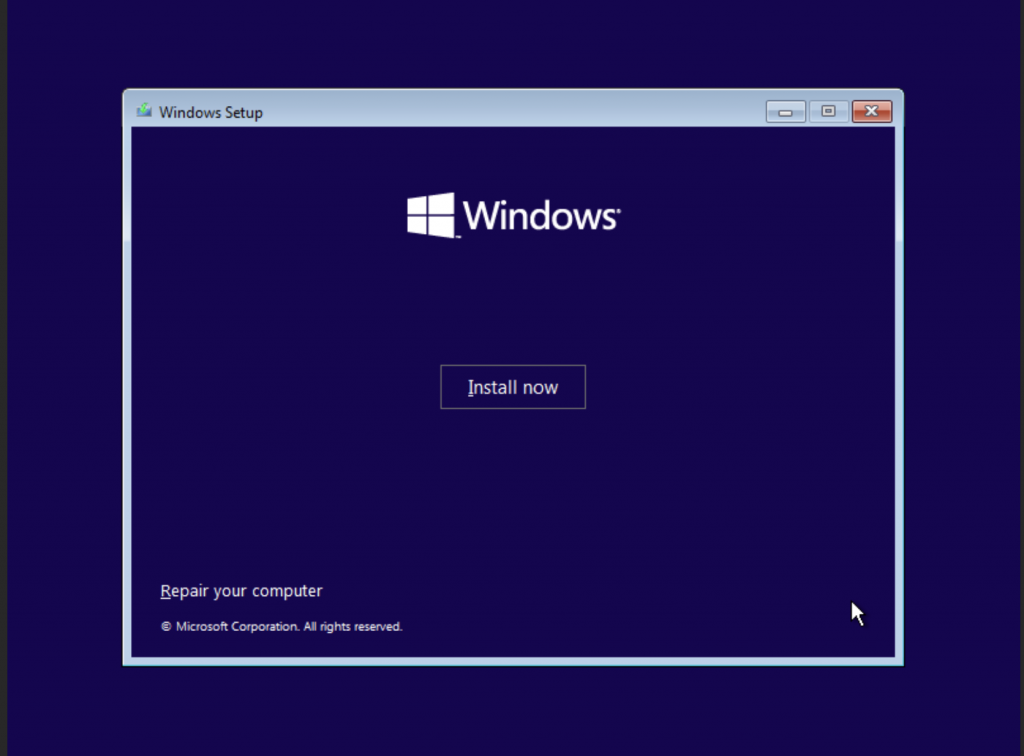
Now start up your freshly created VM and wait until it brings you to the Windows 11 Install screen:
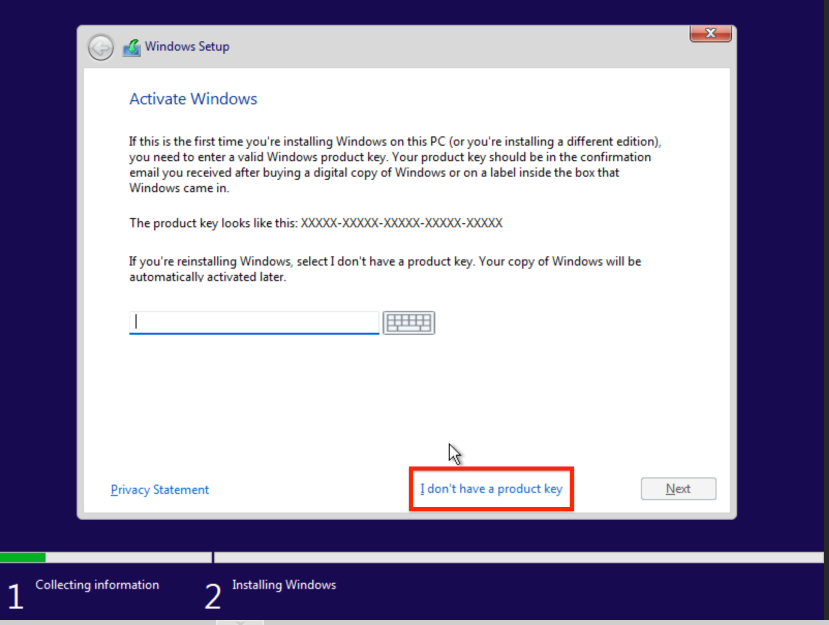
Press Install now and in the next step it will ask for your license key. You can either enter your key or you can just hit the "I don't have a product key" and enter it later after the install:
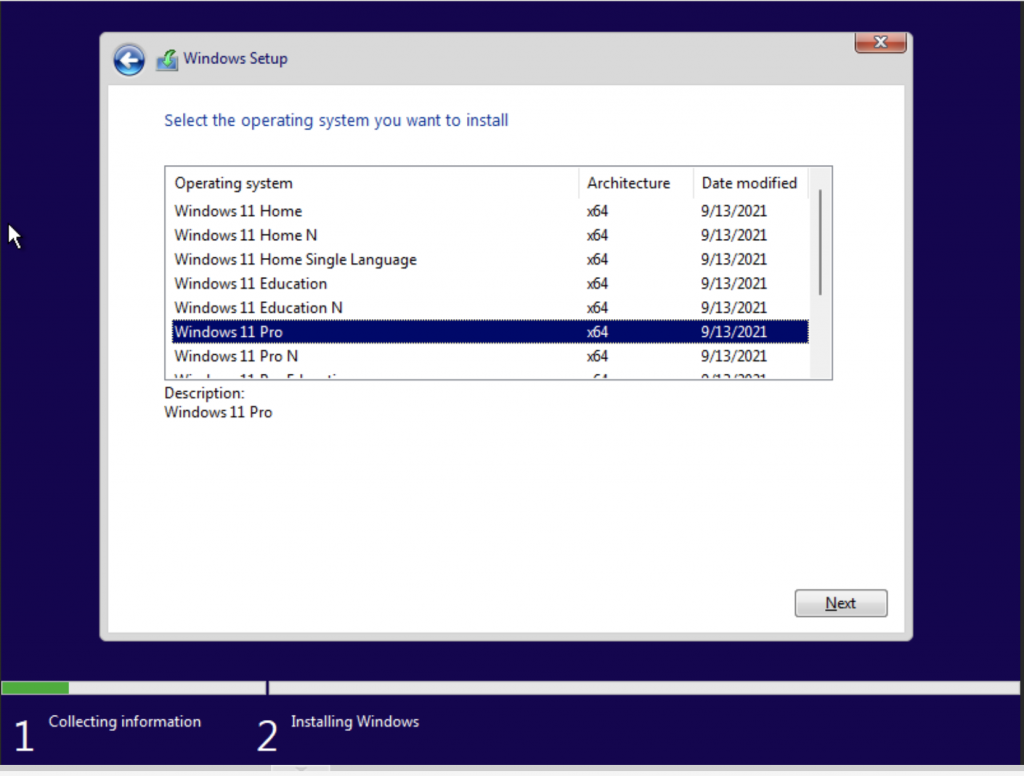
Now the Installer will ask you which version of Windows 11 you want to install. This is quite important, as your license key will need to match the selected version. I have a Win 11 Pro key (upgraded from 10 Pro), so I choose Win 11 Pro:
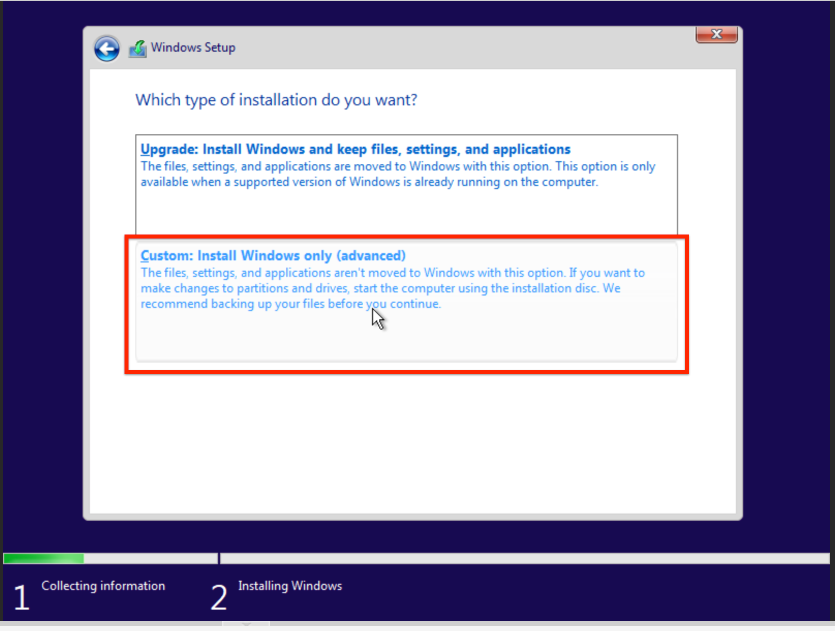
Continue and in the next screen select the lower option to custom install Windows 11:
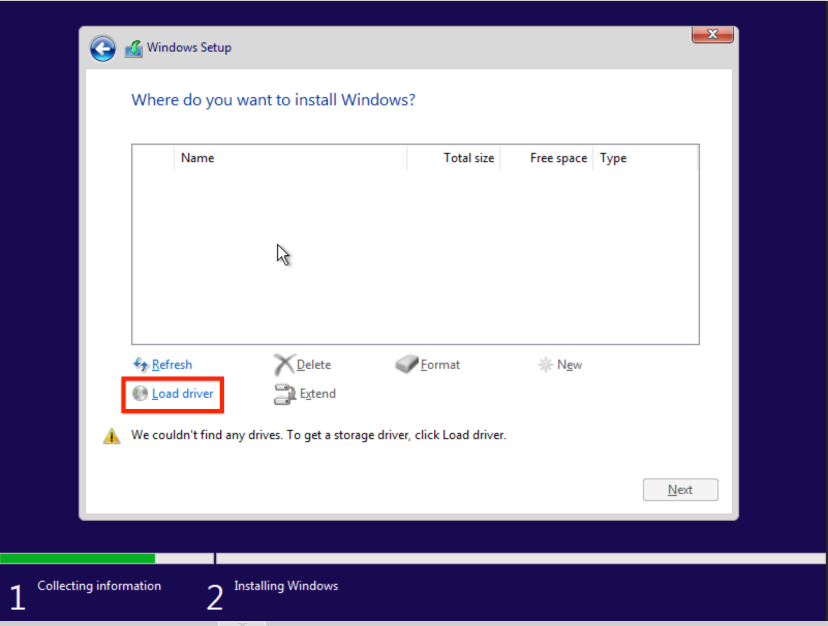
Now we can select the hard drive we want Windows 11 to install onto, but you will at first not see any available hard drive. That is because we need to load the drivers for our virtual disk first from the virtIO ISO image that we have also mounted to the VM. Click on "Load driver" on the bottom left to continue:
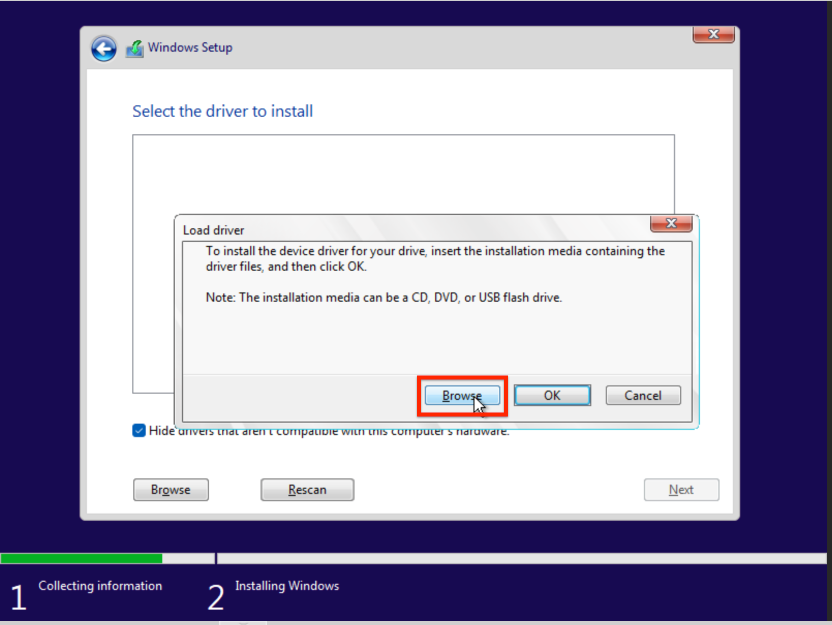
Click browse and navigate to your mounted virtIO ISO image:
Here you go to "amd64" -> "w10". Select the "w10" folder so it is marked blue and then hit "OK":

Now the drivers will load and after success you will be back at the hard drive install selection screen:

Now click next and you Windows 11 install should just start right away with this screen:
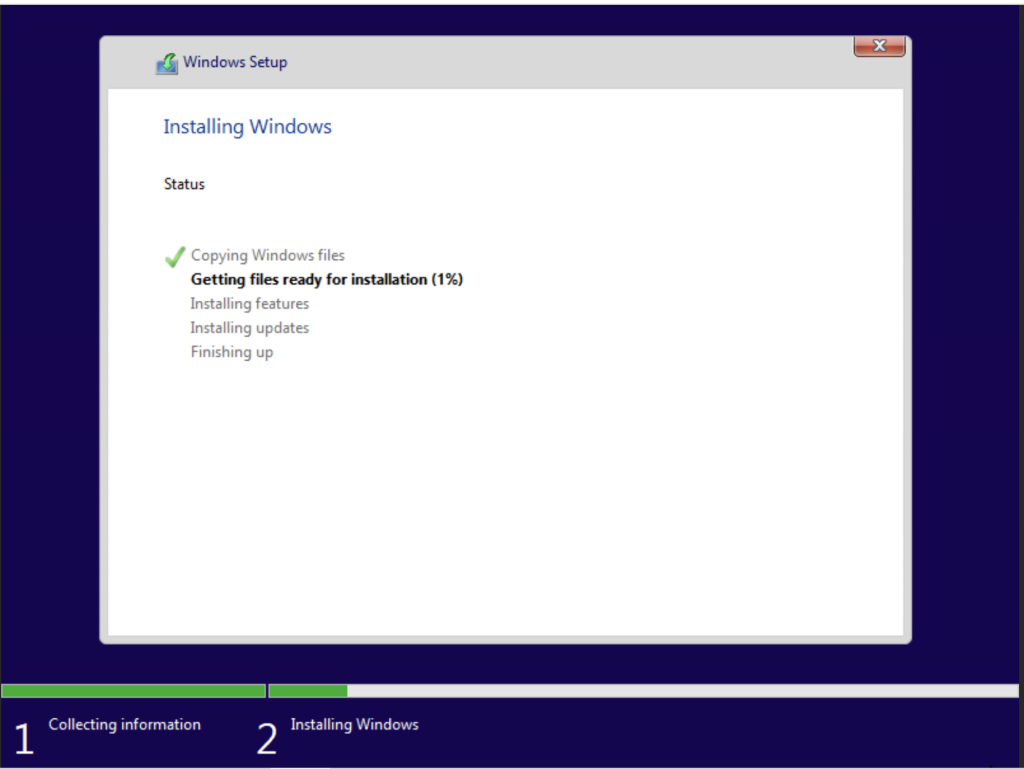
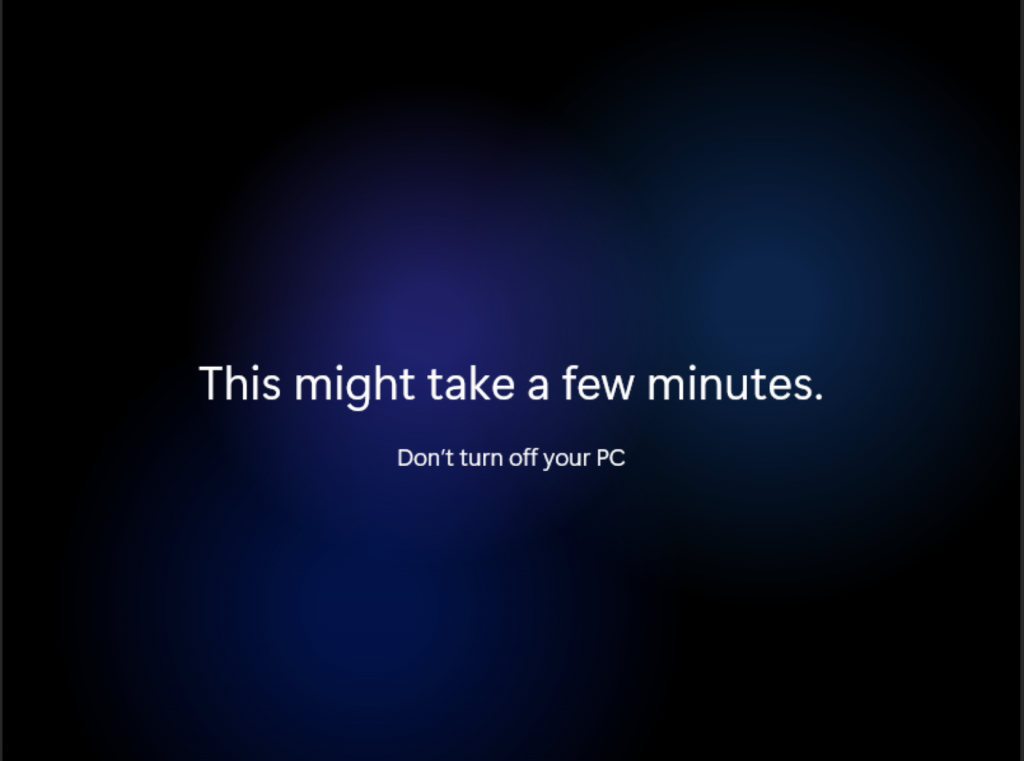
Amazing! No just sit back, get a coffee and wait until Windows 11 Installer finished its job!
4. Setting up Windows 11 and installing virtIO drivers:
When everything went fine with the installation, Windows 11 will greet you with the region selection screen:
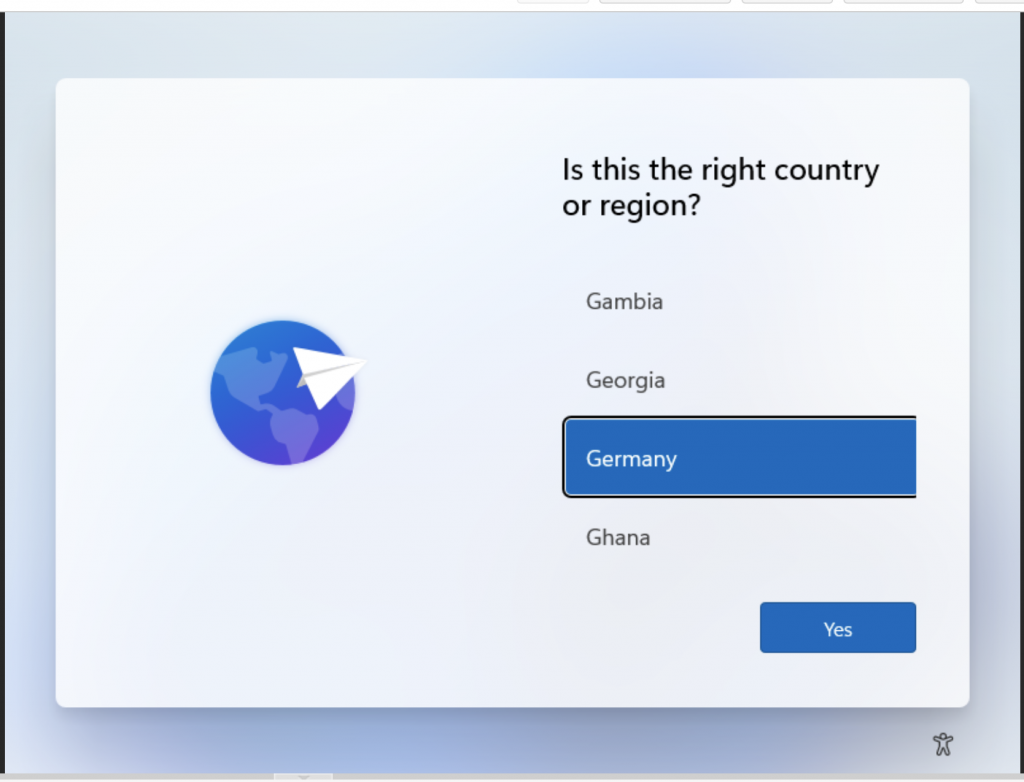
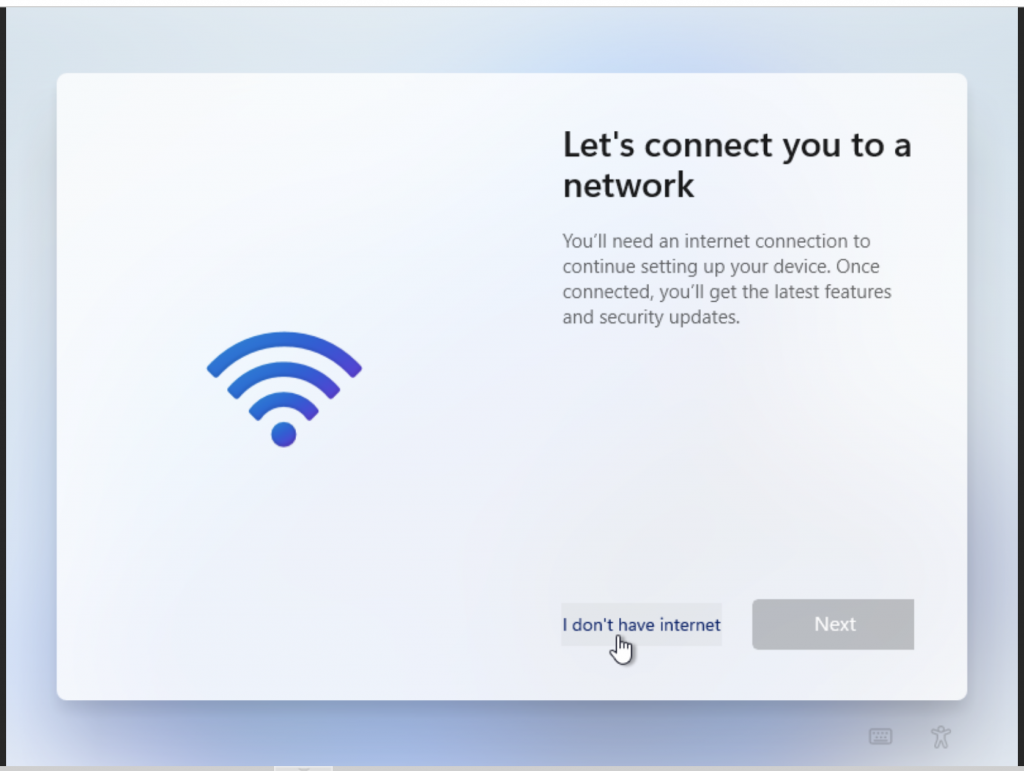
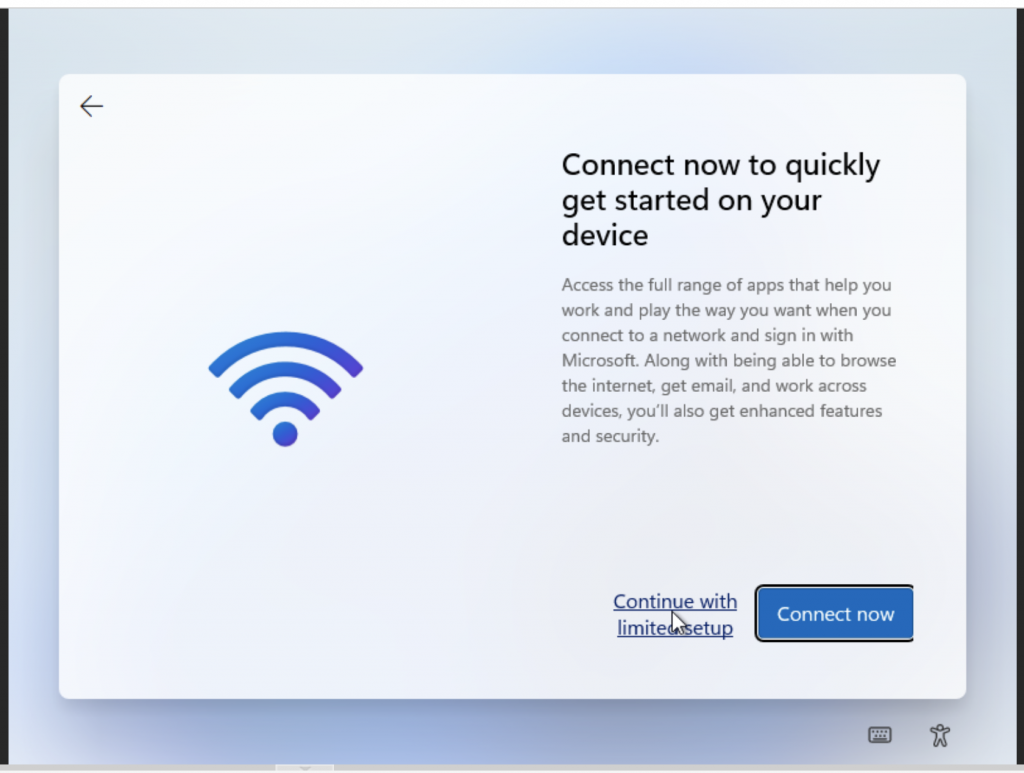
From there click yourself through all the options, its quite self explaining. When you hit the Networking pane, you will see no option for a network connection. That is because we still did not install our virtIO drivers to the machine, so all devices are ready to use. Go around the network setup by clicking "I don't have internet" and then on the second screen "Continue with limited setup".
Now click through all the location and advertising options until you finish with the final "Getting ready" screen:
Amazing! Another time for a coffee or break. When the final setup step is done you will land on the all new fresh Windows 11 desktop!
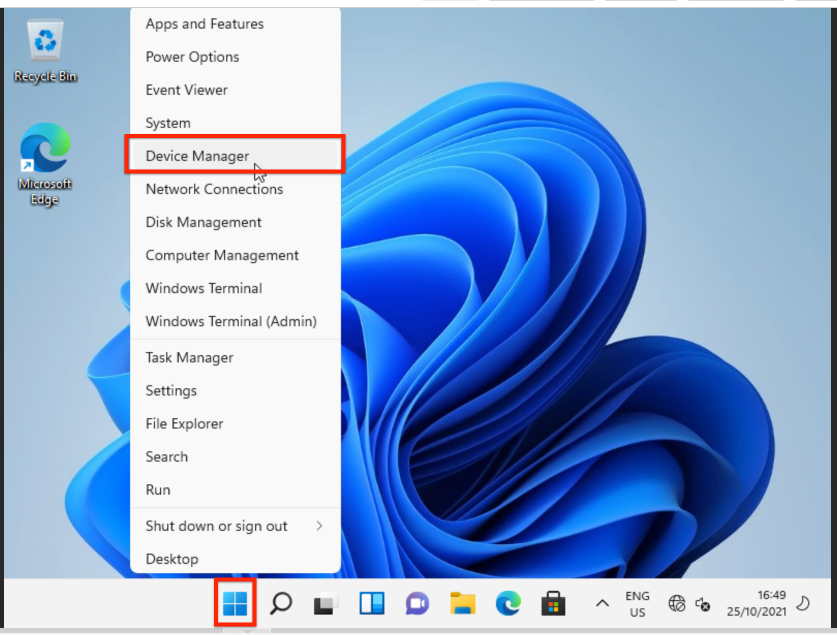
One last thing before you are done with the install: check our missing devices in the Device Manager. Right click on the Windows 11 symbol in the new mid task bar and from the menu select "Device manager":
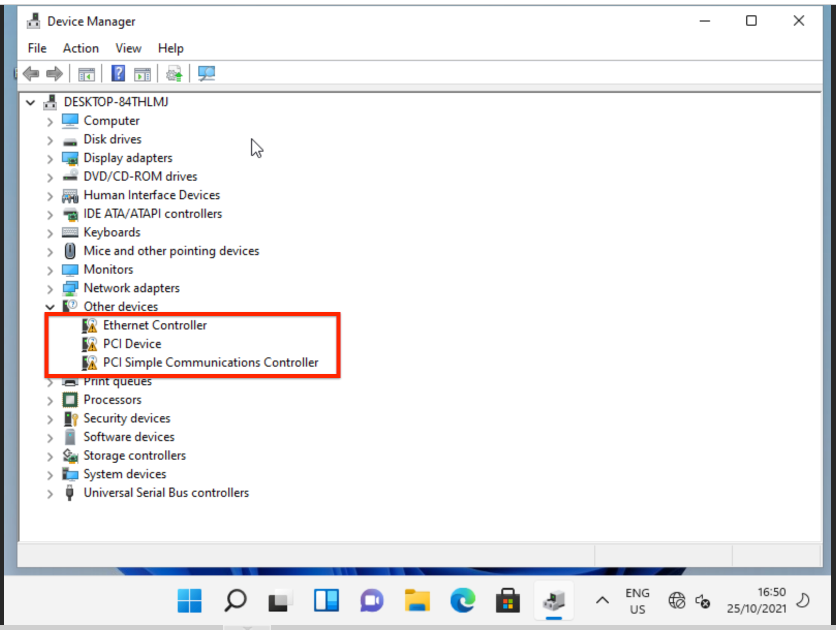
The device manager will open and you will see a couple of missing devices. Thats normal and only means we still need to install the virtIO drivers:
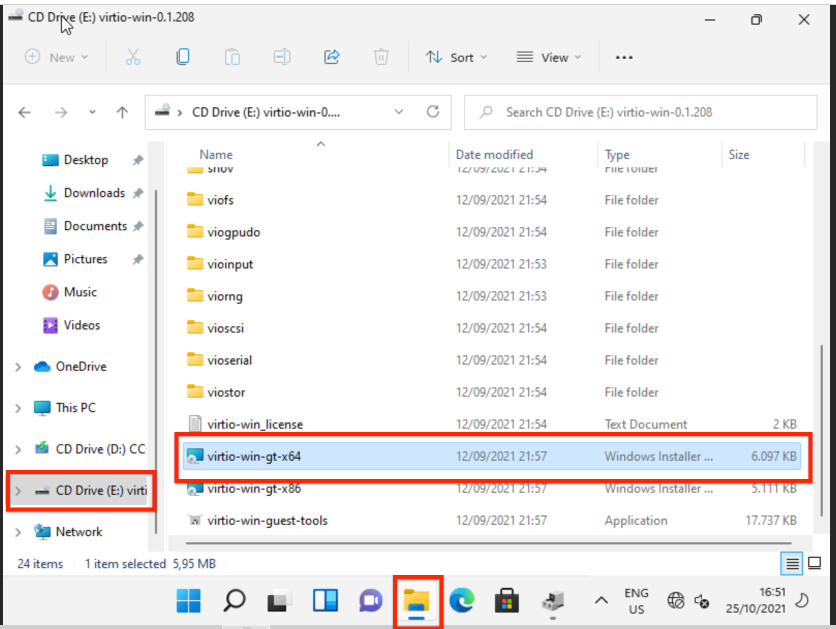
To install the virtIO drivers open the Windows Explorer and navigate to the mounted virtIO driver ISO and there scroll all your way down until you find the "virtio-win-gt-x64.exe". Double click it and follow through the installer:
During the virtIO install make sure that you install everything that it offers. Once its done, close everything and restart Windows 11, by clicking the Windows button and select the power button in the bottom right of the popes up menu.
Once the restart is done go back to the device manager and confirm that all devices have been installed now and that there is no missing device left.
Optional: As a last step and before using your VM, you might want to shut down the VM, go to Proxmox hardware settings, and remove both mounted ISOs: the Windows 11 ISO and the virtIO ISO. This way you won't run into any troubles when you boot next time.
Great! Thats it! You successfully installed Windows 11 on Proxmox with TPM 2.0! Enjoy!