This is a quick guide on how to setup your Mac to mount and run Raspbian images for rapid rpi prototyping, testing and tinkering. It enables your Mac to start and simulate a Pi 3 and all its (web)services via the terminal. So you can start tinkering in no-time before deploying on a life rpi.
Install brew on your MAC. Open Terminal and enter this:
$ /usr/bin/ruby -e "$(curl -fsSL https://raw.githubusercontent.com/Homebrew/install/master/install)"After brew installed successfully we want to install QEMU, an easy OS emulator:
$ brew install qemuNow we have all needed resources installed. Next is to setup our work and folder environment and the scripts. I use a folder in my homedir called QEMU that includes a folder per project with the scripts on main folder. I also have a blank project which I always copy for a new project to start from. Lets begin with setting that up. Create a the main folder and the first projectfolder:
$ cd ~/
$ mkdir ~/QEMU
$ mkdir ~/QEMU/qemu-rpi3-64bit-blankimage
$ cd ~/QEMU
Create a script file with nano:
$ nano start-qemu-rpi3-64bit-blankimage.shNow copy and paste this script into the terminal editor:
qemu-system-aarch64 \
  -kernel ~/QEMU/qemu-rpi3-64bit-blankimage/debian_bootpart/vmlinuz-4.14.0-3-arm64 \
  -initrd ~/QEMU/qemu-rpi3-64bit-blankimage/debian_bootpart/initrd.img-4.14.0-3-arm64 \
  -m 1024 -M virt \
  -cpu cortex-a53 \
  -nographic \
  -serial mon:stdio \
  -append "rw root=/dev/vda2 console=ttyAMA0 loglevel=8 rootwait fsck.repair=yes memtest=1" \
  -drive file=~/QEMU/qemu-rpi3-64bit-blankimage/2019-07-10-raspbian-buster-lite-blankimage.img,format=raw,if=sd,id=hd-root \
  -device virtio-blk-device,drive=hd-root \
  -netdev user,id=net0,hostfwd=tcp::5522-:22,hostfwd=tcp::22280-:8080 \
  -device virtio-net-device,netdev=net0 \
  -no-reboot \
Now save and exit with STRG+X and confirm saving with Y (Yes) and hit enter.
Last thing to do is to make the script file executable:
$ chmod +x qemu_script.sh
$ ./qemu_script.sh
Now we need to download the raspbian image, a working kernel for the raspbian distribution and a versatile DB.
Download the raspbian buster image, in our case here:
As we want to simulate and run the image on a Raspberry with 64bit we need a fitting kernel, versatile-db.dtb file and the helper files. For raspbian buster you can download the whole package here:
https://github.com/wimvanderbauwhede/limited-systems/tree/master/Raspberry-Pi-3-QEMU/Debian64bit
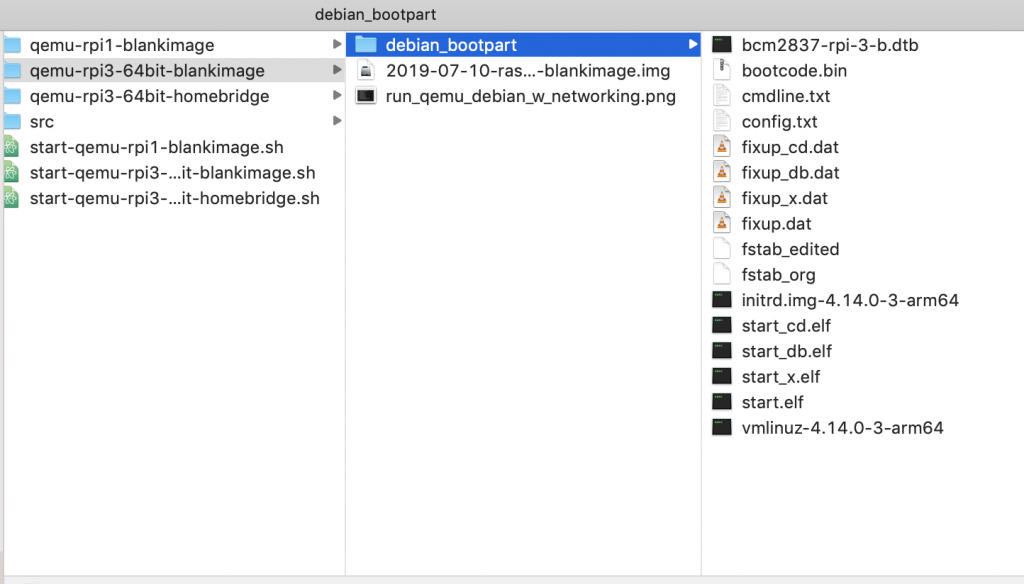
Now you should have these files and copy them via finder into the project directory we created earlier over the terminal: ~/QEMU/rpi3-64bit-blankimage/
L-2019-07-10-raspbian-buster-lite-blankimage.img
L-/debian_bootpart/
L-- bcm2837-rpi-3-b.dtb
L-- bootcode.bin
L-- cmdline.txt
L-- config.txt
L-- fixup_cd.dat
L-- fixup_db.dat
L-- fixup_x.dat
L-- fixup.dat
L-- fstab_edited
L-- fstab_org
L-- initrd.img-4.14.0-3-arm64
L-- start_cd.elf
L-- start_db.elf
L-- start_x.elf
L-- start.elf
L-- vmlinuz-4.14.0-3-arm64
This is how it should look like:
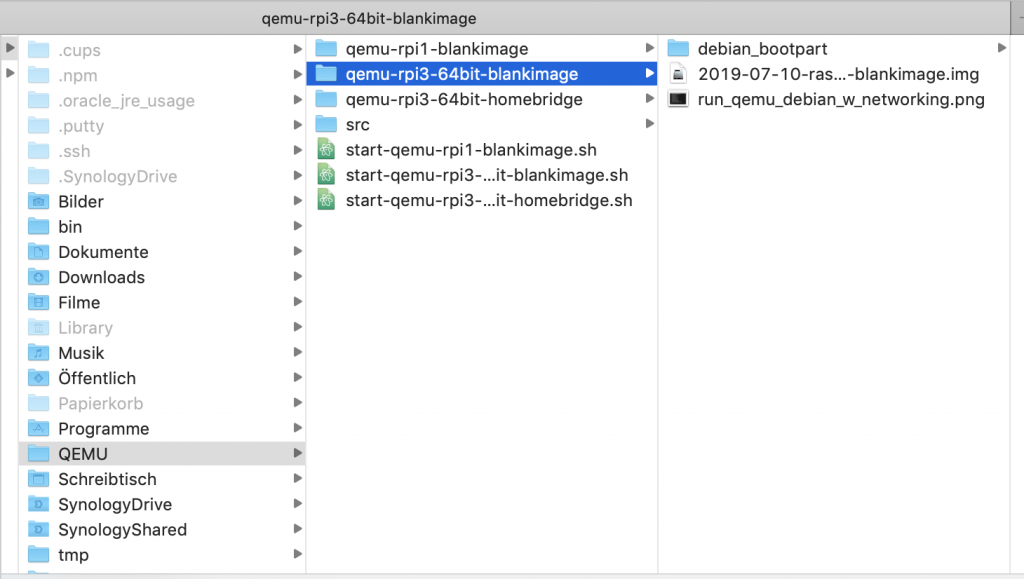
If you want to create a new project you just need to copy the script and the folder and change the appendix "-blankimage" into your project name and change that as well in the path in the "start-....sh" launch script.
Last step before we can run the image now, is to change the /etc/fstab on the rootfs partition of the image. For this we need to mount the image and edit with an editor of your choice the the /etc/fstab. I would recommend you to dublicate the original file and save it as an fstab_backup or similar. Now change the fstab to:
# The root file system has fs_passno=1 as per fstab(5) for automatic fsck.
 #/dev/mmcblk0p2 / ext4 rw 0 1
 /dev/vda2 / ext4 rw 0 1
 # All other file systems have fs_passno=2 as per fstab(5) for automatic fsck.
 # /dev/mmcblk0p1 /boot/firmware vfat rw 0 2
 proc /proc proc defaults 0 0
pfile swap[on|off]  for that
Now you can start your virtual Raspberry PI with:
$ ~/QEMU/start-qemu-rpi3-64bit-homebridge.sh Thats it for now, you are ready to use and test all kinds of rpi images and installations locally on your MAC 🙂
Enjoy and have fun!